
A gallery wall is more than just an arrangement of pictures on a wall—it’s a curated display of memories, art, and personal treasures that tell a story. Whether you’re an art enthusiast, a photography lover, or someone who enjoys showcasing personal moments, a gallery wall can transform any living room into a dynamic and visually stimulating space. This guide will take you through the essential steps and tips for creating a stunning gallery wall that reflects your style and enhances your home.
Understanding the Appeal of Gallery Walls
The Emotional Connection
Gallery walls are popular because they offer a unique way to express personality and showcase memories. They provide a tangible connection to cherished moments, favorite places, and loved ones. This emotional connection makes a gallery wall more than just decor; it becomes a part of your home’s narrative.
Visual Impact and Design Flexibility
One of the significant benefits of a gallery wall is its versatility. You can mix and match various art forms, from photographs and paintings to mirrors and prints, creating a visually appealing collage that captivates attention. Additionally, gallery walls can adapt to any style—be it minimalist, eclectic, or traditional—offering endless design possibilities.
Planning Your Gallery Wall
Assessing Your Space
Before you begin, it’s crucial to assess the space where you plan to create your gallery wall. Consider the wall’s size, shape, and surrounding elements. A large, blank wall might benefit from a sprawling display, while a smaller space might call for a more compact arrangement.
- Wall Dimensions: Measure the height and width of the wall to determine the available space for your gallery.
- Furniture Placement: Ensure the placement of your gallery wall complements the existing furniture. For instance, if the wall is behind a sofa, leave enough space between the top of the furniture and the bottom of the lowest frame to create balance.
Defining a Theme or Style
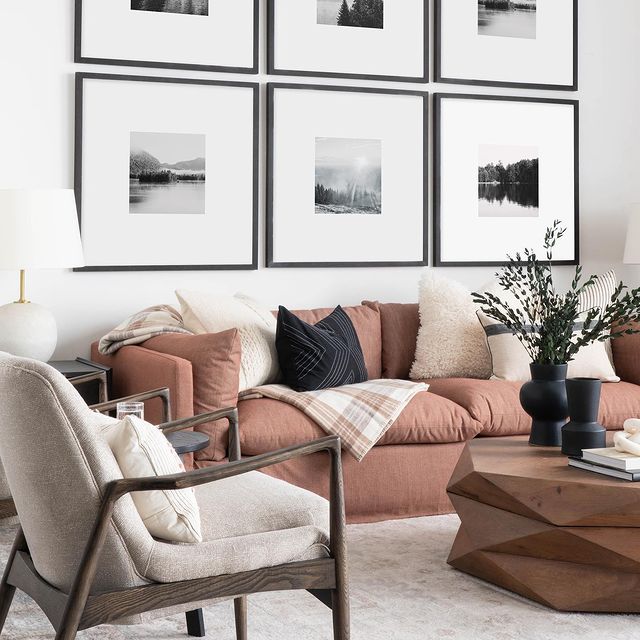
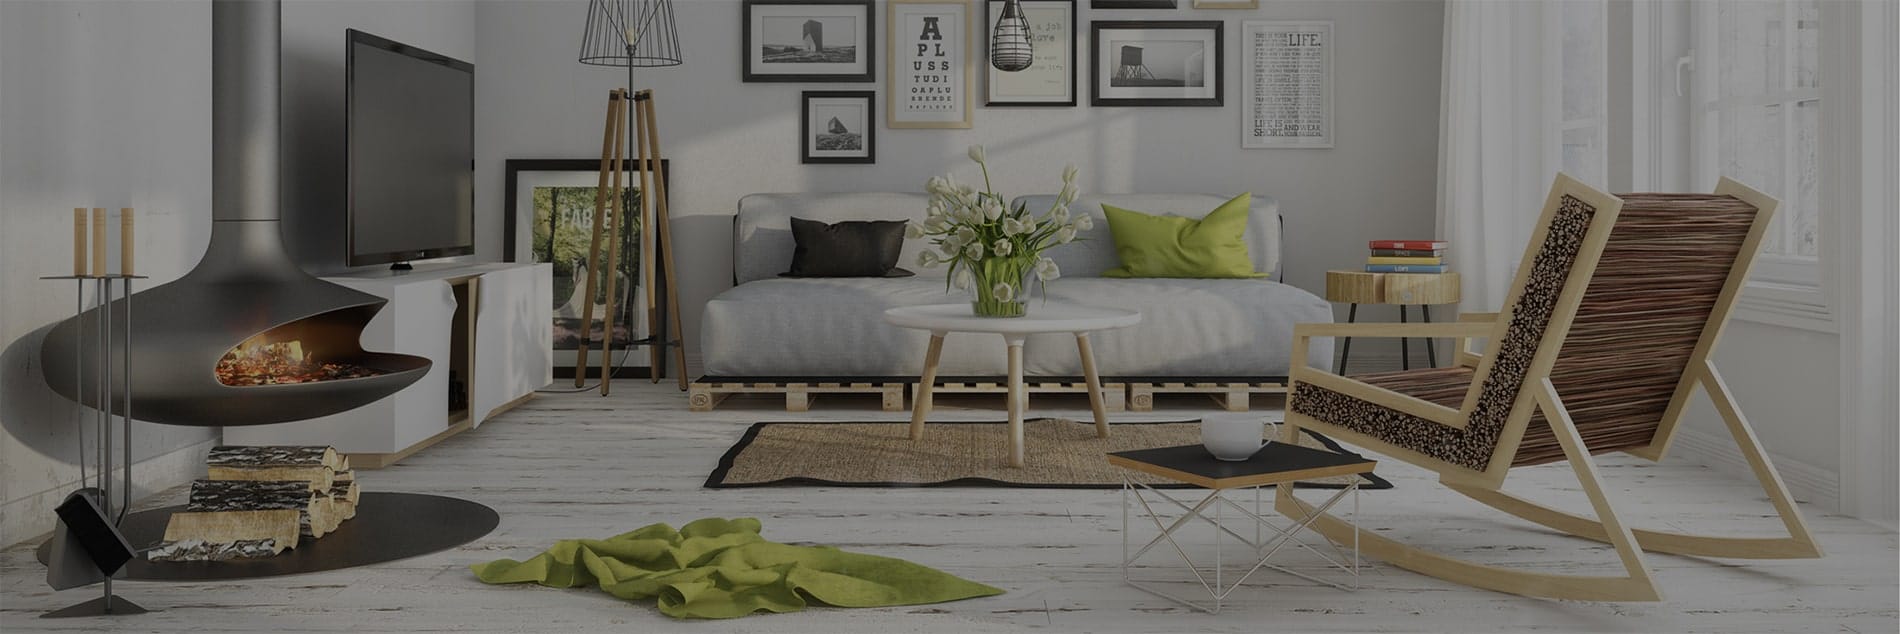
While gallery walls are known for their eclectic nature, having a unifying theme or style can create a cohesive look. This could be as simple as sticking to a color palette, using similar frames, or focusing on a specific subject matter like landscapes, portraits, or abstract art.
- Color Coordination: Choose a color scheme that complements the room’s existing decor. Neutral frames with black and white photos create a timeless look, while vibrant colors can add energy to the space.
- Consistent Framing: Using similar frames can help unify the various elements of your gallery wall, especially if you’re mixing different types of art.
Choosing the Right Pieces for Your Gallery Wall
Curating Your Collection
Selecting the right pieces is arguably the most critical step in creating a gallery wall. Your collection should reflect your tastes and interests, offering a glimpse into your world.
- Personal Photographs: Incorporate family photos, travel snapshots, or candid moments that hold sentimental value.
- Art Prints: Choose art prints that resonate with your style, whether it’s contemporary, classic, or abstract.
- Mixed Media: Don’t limit yourself to just photos and prints. Consider including other elements like framed fabric, quotes, or even small 3D objects.
Balancing Variety and Cohesion
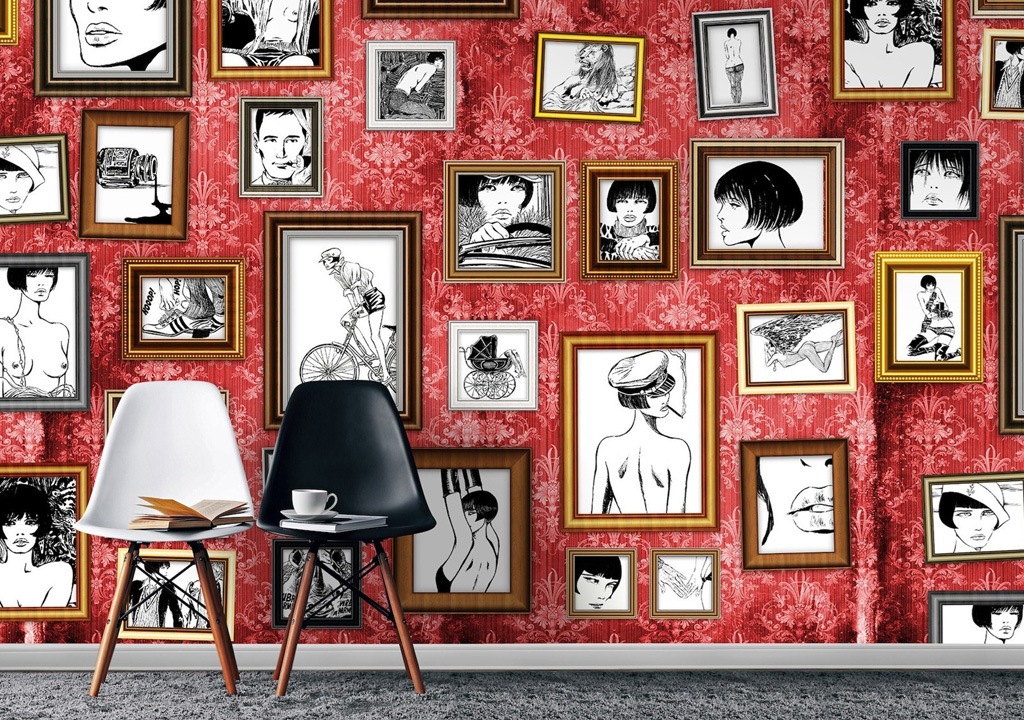
A successful gallery wall balances variety and cohesion. While you want a mix of different elements, they should still look harmonious together.
- Mix of Sizes: Combine large and small frames to create visual interest. Larger pieces can act as focal points, while smaller ones fill in gaps and add detail.
- Variety in Content: Mix different types of content—photographs, paintings, quotes, and mirrors—to keep the wall dynamic. However, maintain a common thread, such as a color scheme or thematic element, to tie everything together.
Arranging Your Gallery Wall
Layout Options and Techniques
The arrangement of your gallery wall is crucial to its overall impact. There are several layout options to consider, each offering a different aesthetic.
- Grid Layout: For a clean, orderly look, arrange your frames in a grid pattern. This works well if you’re using frames of the same size and want a symmetrical design.
- Asymmetrical Layout: An asymmetrical arrangement offers a more casual, organic look. Start with a central piece and build outwards, balancing the placement of different-sized frames.
- Linear Layout: A linear arrangement, either horizontally or vertically, can create a streamlined, modern appearance. This layout is ideal for narrow spaces like hallways.
The Importance of Spacing and Proportion
Proper spacing and proportion are key to creating a gallery wall that feels balanced and intentional.
- Consistent Spacing: Aim for consistent spacing between frames, typically between 2 to 3 inches. This consistency helps the wall look organized, even if the layout is asymmetrical.
- Proportional Arrangement: Consider the proportion of each piece relative to others. Avoid placing all large pieces on one side; instead, distribute them evenly to maintain balance.
DIY Techniques for Layout Planning
Before you start hammering nails into your wall, it’s wise to plan your layout.
- Paper Template: Trace each frame onto paper, cut out the shapes, and tape them onto the wall. This allows you to visualize the arrangement without committing to nail holes.
- Digital Mockups: Use online tools or graphic design software to create a digital mockup of your gallery wall. This can be particularly helpful if you’re deciding between multiple layouts.
Hanging and Securing Your Gallery Wall
Tools and Materials You’ll Need
To hang your gallery wall effectively, gather the necessary tools and materials:
- Measuring Tape: For accurate spacing and alignment.
- Level: Ensures your frames are hung straight.
- Picture Hanging Kit: Includes hooks, nails, and wall anchors.
- Pencil: For marking placement points on the wall.
- Hammer or Drill: Depending on the wall type and weight of the frames.
Step-by-Step Hanging Guide
- Measure and Mark: Use a measuring tape and pencil to mark where each frame will go. Start with the center piece and work outwards.
- Install Hanging Hardware: Attach picture hooks or nails to the wall at the marked points. Use wall anchors if hanging heavier pieces.
- Hang and Adjust: Hang each frame, starting from the center. Use a level to ensure each piece is straight. Adjust as necessary to maintain consistent spacing and alignment.
Adding the Final Touches
Enhancing with Lighting
Lighting can significantly enhance your gallery wall, highlighting each piece and creating a warm, inviting ambiance.
- Picture Lights: Install picture lights above key pieces to spotlight them.
- Track Lighting: Use track lighting to direct beams onto the gallery wall, enhancing the overall effect.
- Ambient Lighting: Consider adding soft, ambient lighting like floor lamps or sconces to create a cozy atmosphere.
Seasonal and Rotational Updates
Keep your gallery wall fresh and interesting by rotating pieces or updating them seasonally.
- Seasonal Art: Swap out pieces to reflect different seasons, holidays, or events. For example, include winter-themed art during the holiday season or floral prints in the spring.
- New Additions: Periodically add new pieces to your gallery wall to keep it evolving. This could include recent family photos, new art purchases, or souvenirs from travels.
Troubleshooting Common Issues
Uneven Frames and Misalignment
Even with careful planning, you might encounter issues like uneven frames or misalignment.
- Correcting Misalignment: If a frame is slightly off, use adhesive strips or rubber bumpers to adjust and level it.
- Re-hanging: For significant misalignment, it may be necessary to remove and re-hang the frame, ensuring precise measurements this time.
Balancing a Busy Look
A gallery wall can sometimes feel overwhelming if too many elements are competing for attention.
- Editing Your Collection: If your gallery wall feels too busy, consider removing a few pieces to simplify the look.
- Neutral Tones: Introduce neutral elements, like monochrome photos or simple frames, to tone down the visual noise.
Conclusion
Creating a gallery wall is a rewarding endeavor that transforms your living room into a gallery of your life’s moments, artistic passions, and treasured memories. By thoughtfully selecting, arranging, and displaying your chosen pieces, you can craft a space that is both visually stunning and deeply personal. Remember, the key to a successful gallery wall is in the planning—take your time to curate, arrange, and hang your collection with care. The end result will be a gallery wall that not only enhances your living room but also serves as a daily source of joy and inspiration.
Actionable Tips for a Flawless Gallery Wall
- Start Small: If you’re new to creating gallery walls, start with a smaller arrangement and expand as you grow more confident.
- Mix Textures: Combine different textures, such as glossy photos, matte prints, and fabric art, to add depth and interest.
- Personal Touches: Incorporate personal items, like handwritten notes or children’s drawings, to make the gallery wall uniquely yours.
With these tips and tricks, you’re ready to embark on your gallery wall journey. Happy decorating!